Subwoofer enclosure porn
You’ll have to excuse the quality of these photos. My brother’s borrowing my digital camera to hawk some wares on Craig’s List, so I’m using my Flip helmet cam, which is great for video but doesn’t do as well with stills.
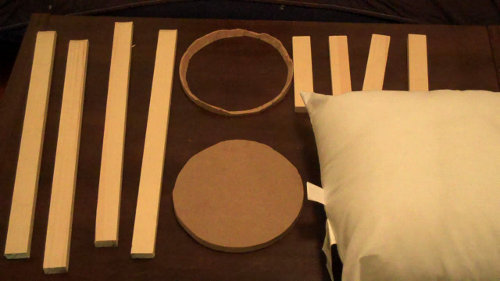
I spent a day last weekend down on the family farm. Some time in the basement wood shop resulted in a small collection of fitted framework:
Why, yes, that is a pillow. I’ll take the polyfill stuffing out eventually and put it inside the enclosure. Doing this effectively increases the apparent size of the enclosure without making the actual size larger.
Why? Well, the polyfill moves around when sound waves strike it. The polyfill fibers move around so much that they heat up, and then heat the air around them. Sound travels more slowly in hot air, because hot air is less dense than cold air (maybe this is one reason winter cycling always seems to take more effort). The polyfill, when glued to the inner wall of the enclosure, will also have a dampening effect on the enclosure’s vibration. These changes make the apparent size of the enclosure seem larger. I call this the TARDIS Effect.
The other parts are pine braces and MDF (fiberboard), which is used to cap one end and also to make a ring that helps fit the subwoofer to the other end. The MDF ‘ring’ saw enough jigsaw action to get pretty badly mangled. It’s not structural, though, it will just help position the subwoofer properly as the entire unit is assembled. The subwoofer will ultimately stay in place with long wood screws that screw directly into the pine braces. In fact, I may end up completely eliminating the MDF ring since it’s really not necessary.
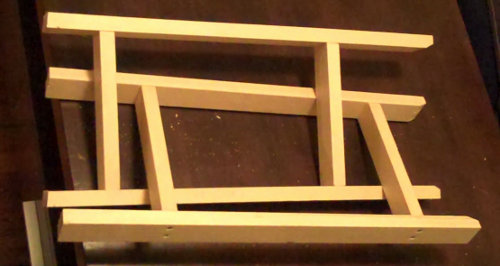
I assembled a simple frame to reinforce the enclosure. This also provides strong internal braces that I can use to support the bolts that will hold subwoofer to the front fork:
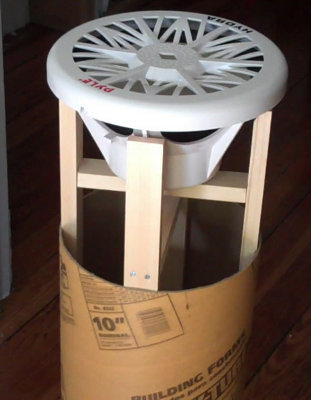
Finally, here is a partially exploded view, so that you can see how it all fits into the Sonotube (round concrete form) enclosure:
There’s space between the bottom of the speaker and the top brace; it just doesn’t show well in this photo. I may need to reposition it if the MDF ‘ring’ idea gets tossed… we’ll see.
 Comments(2)