Archive for the 'construction' Category

Roll Bounce

So in the past year I’ve built two more freak bikes.

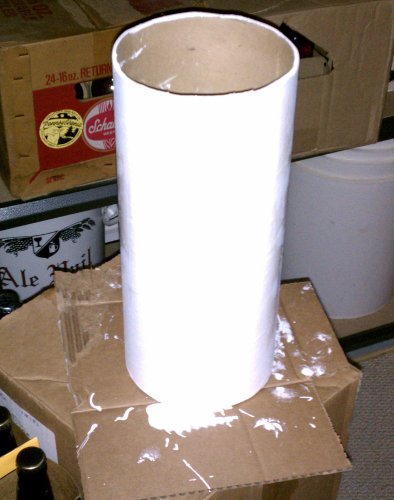
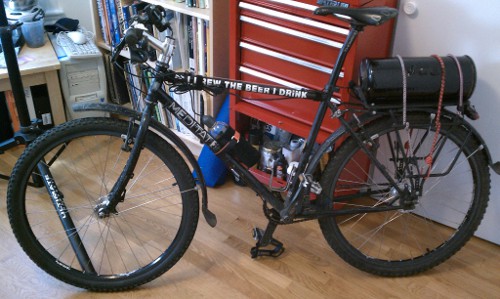
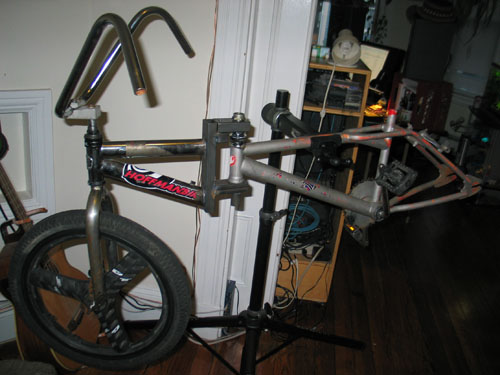
The first one, which I’m calling Roll Bounce, looks like a normal bike at first glance:

roll_bounce

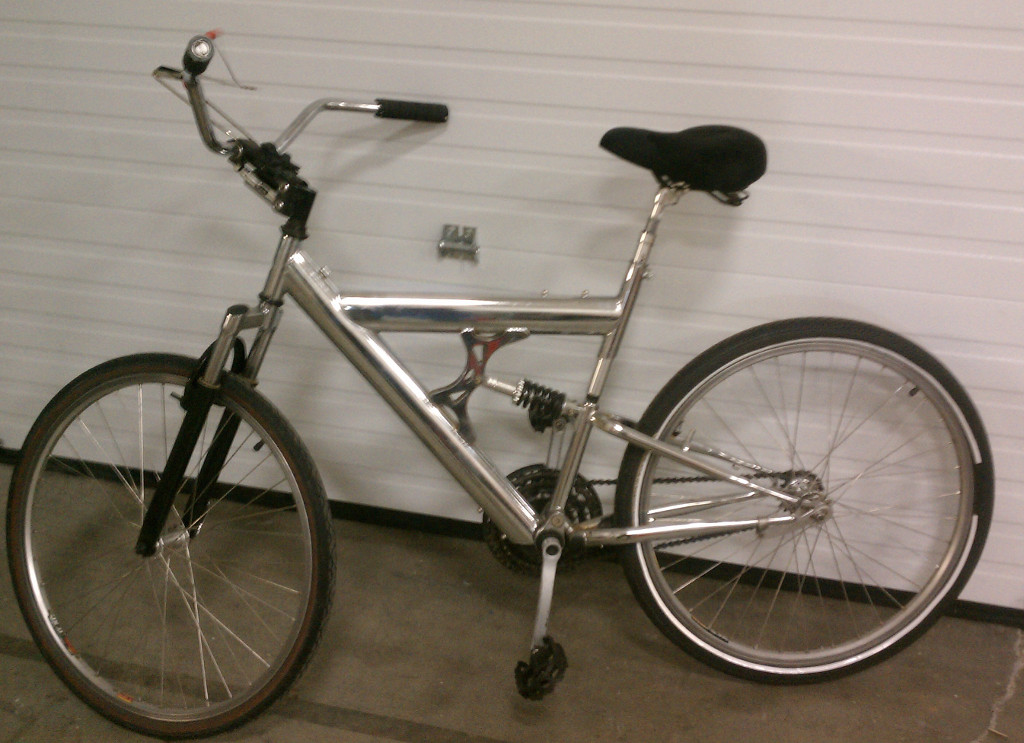
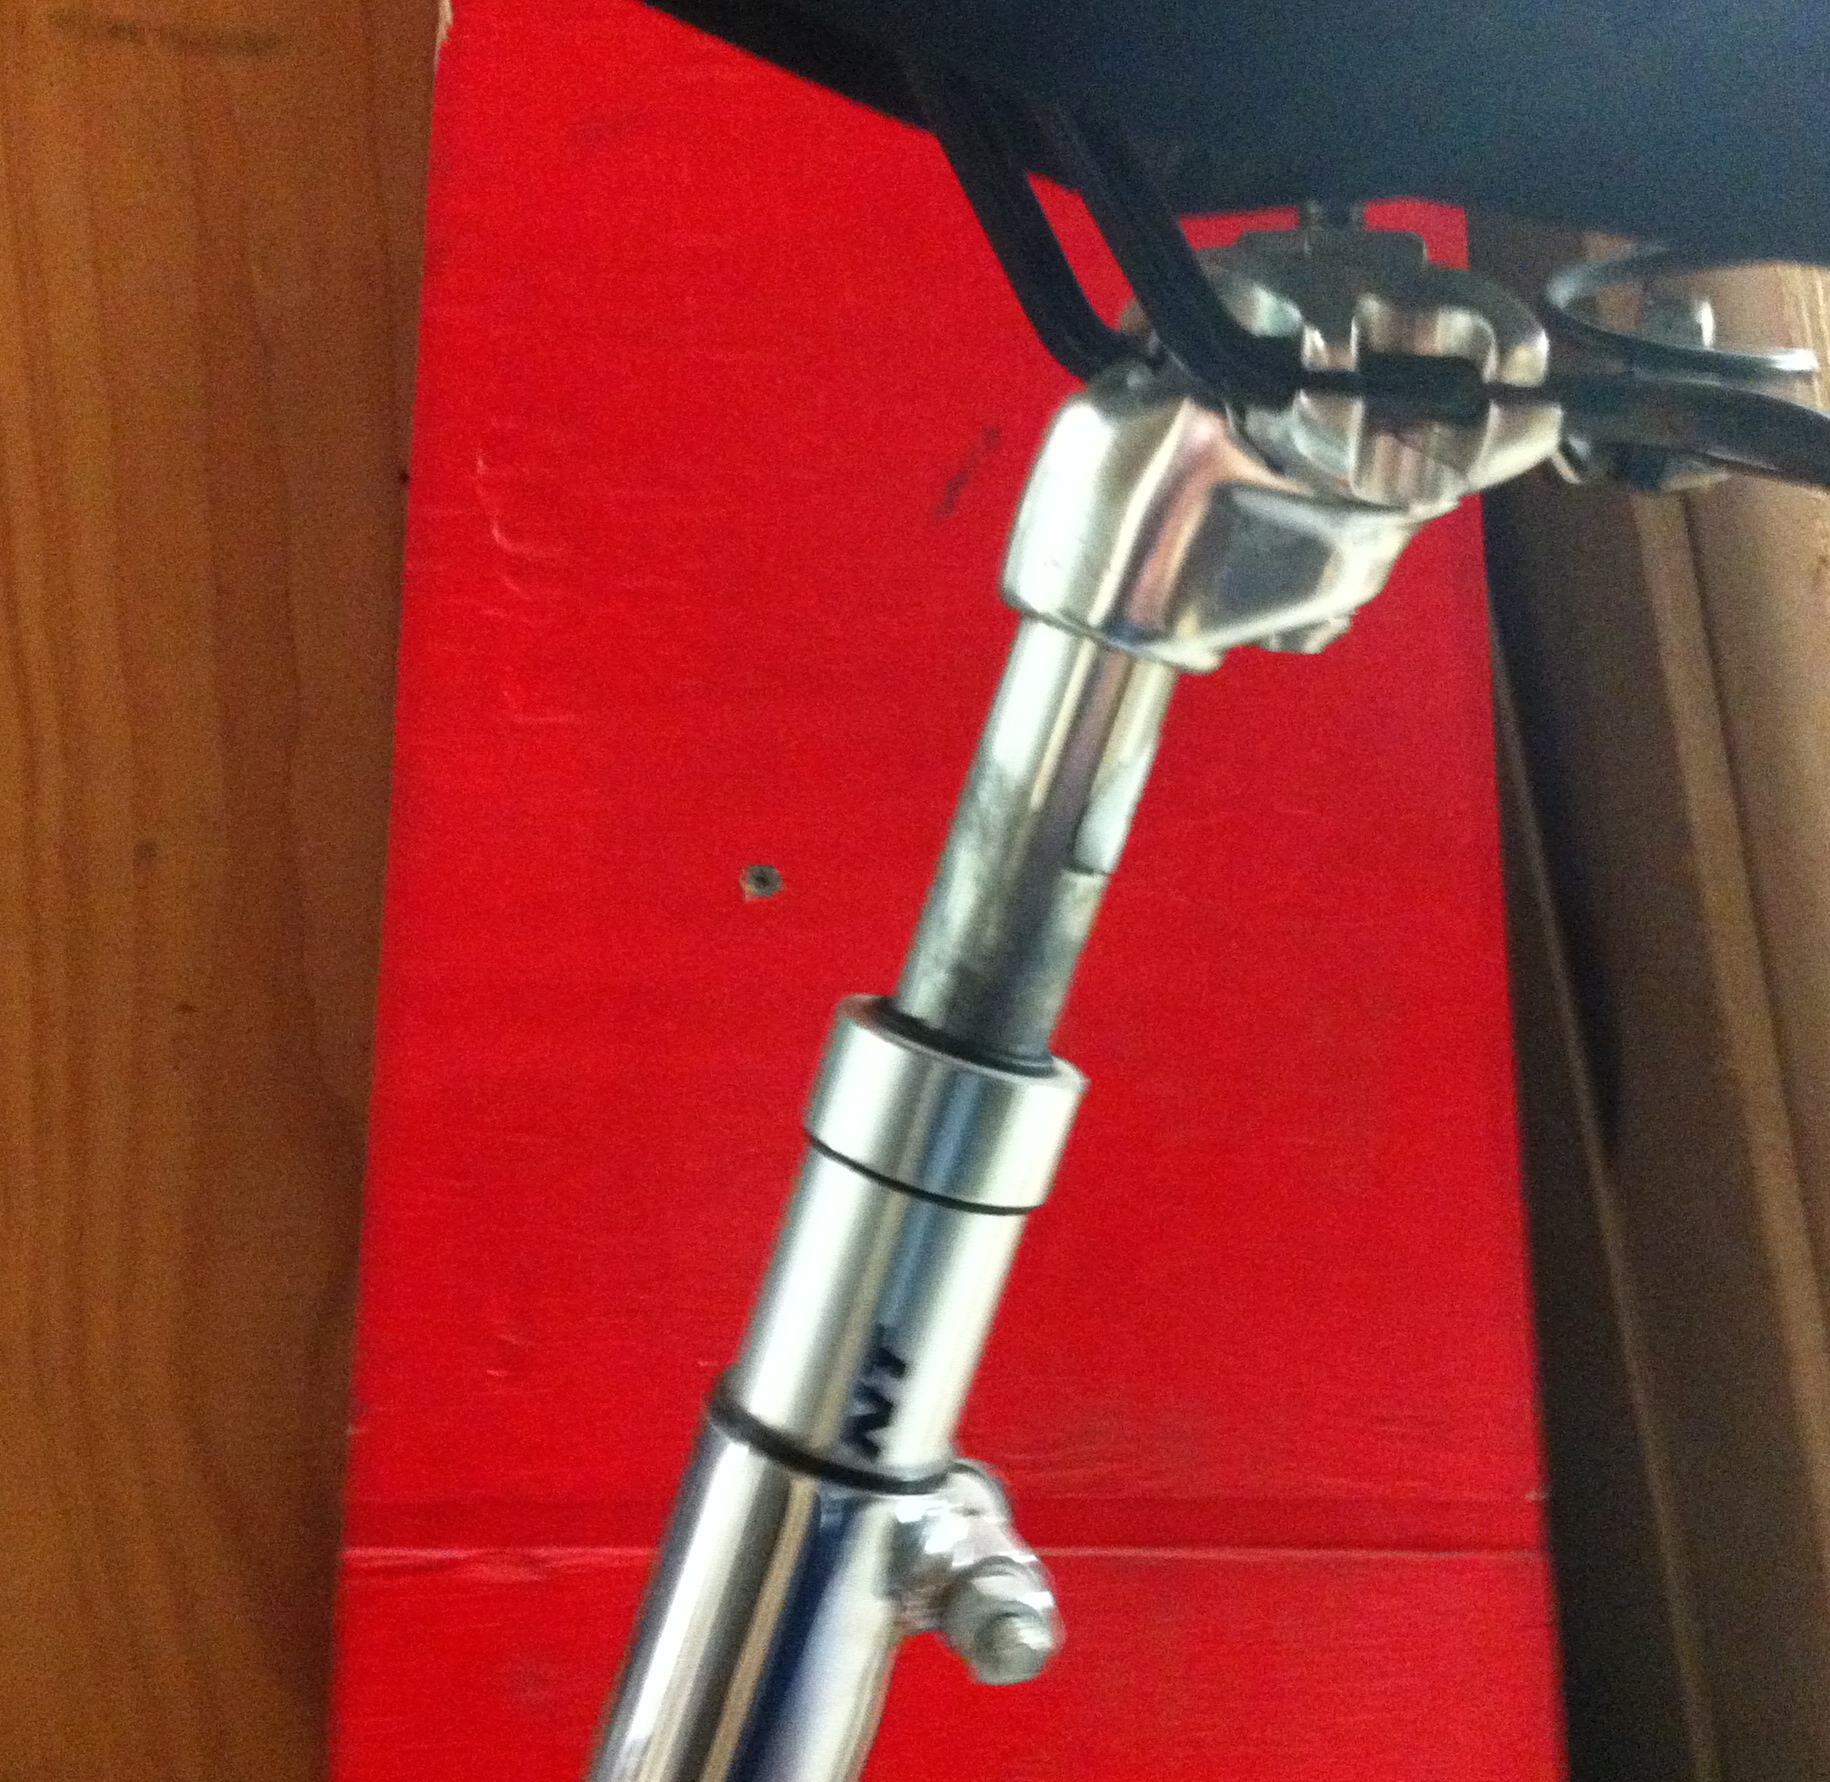
It started as a trashed full-suspension Pacific frame and fork. I stripped off the useless parts (most of it), cleaned off all the stickers with naptha and greased up all the bearing surfaces that were salvageable. What goes well with suspension? More suspension! Asking around, digging through spare parts bins and some generous donations landed me a suspension seatpost:
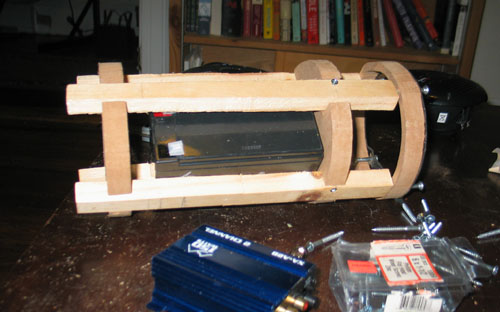
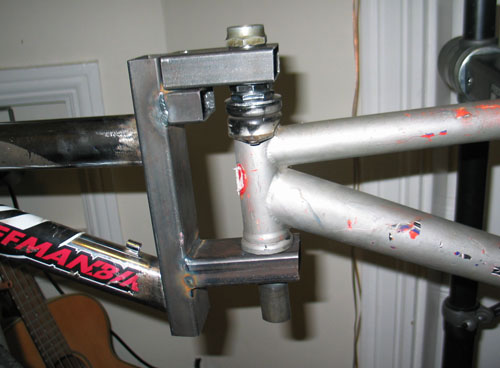
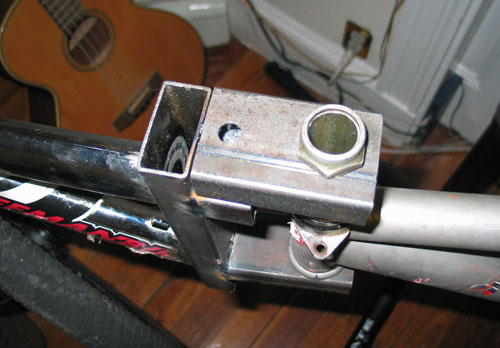
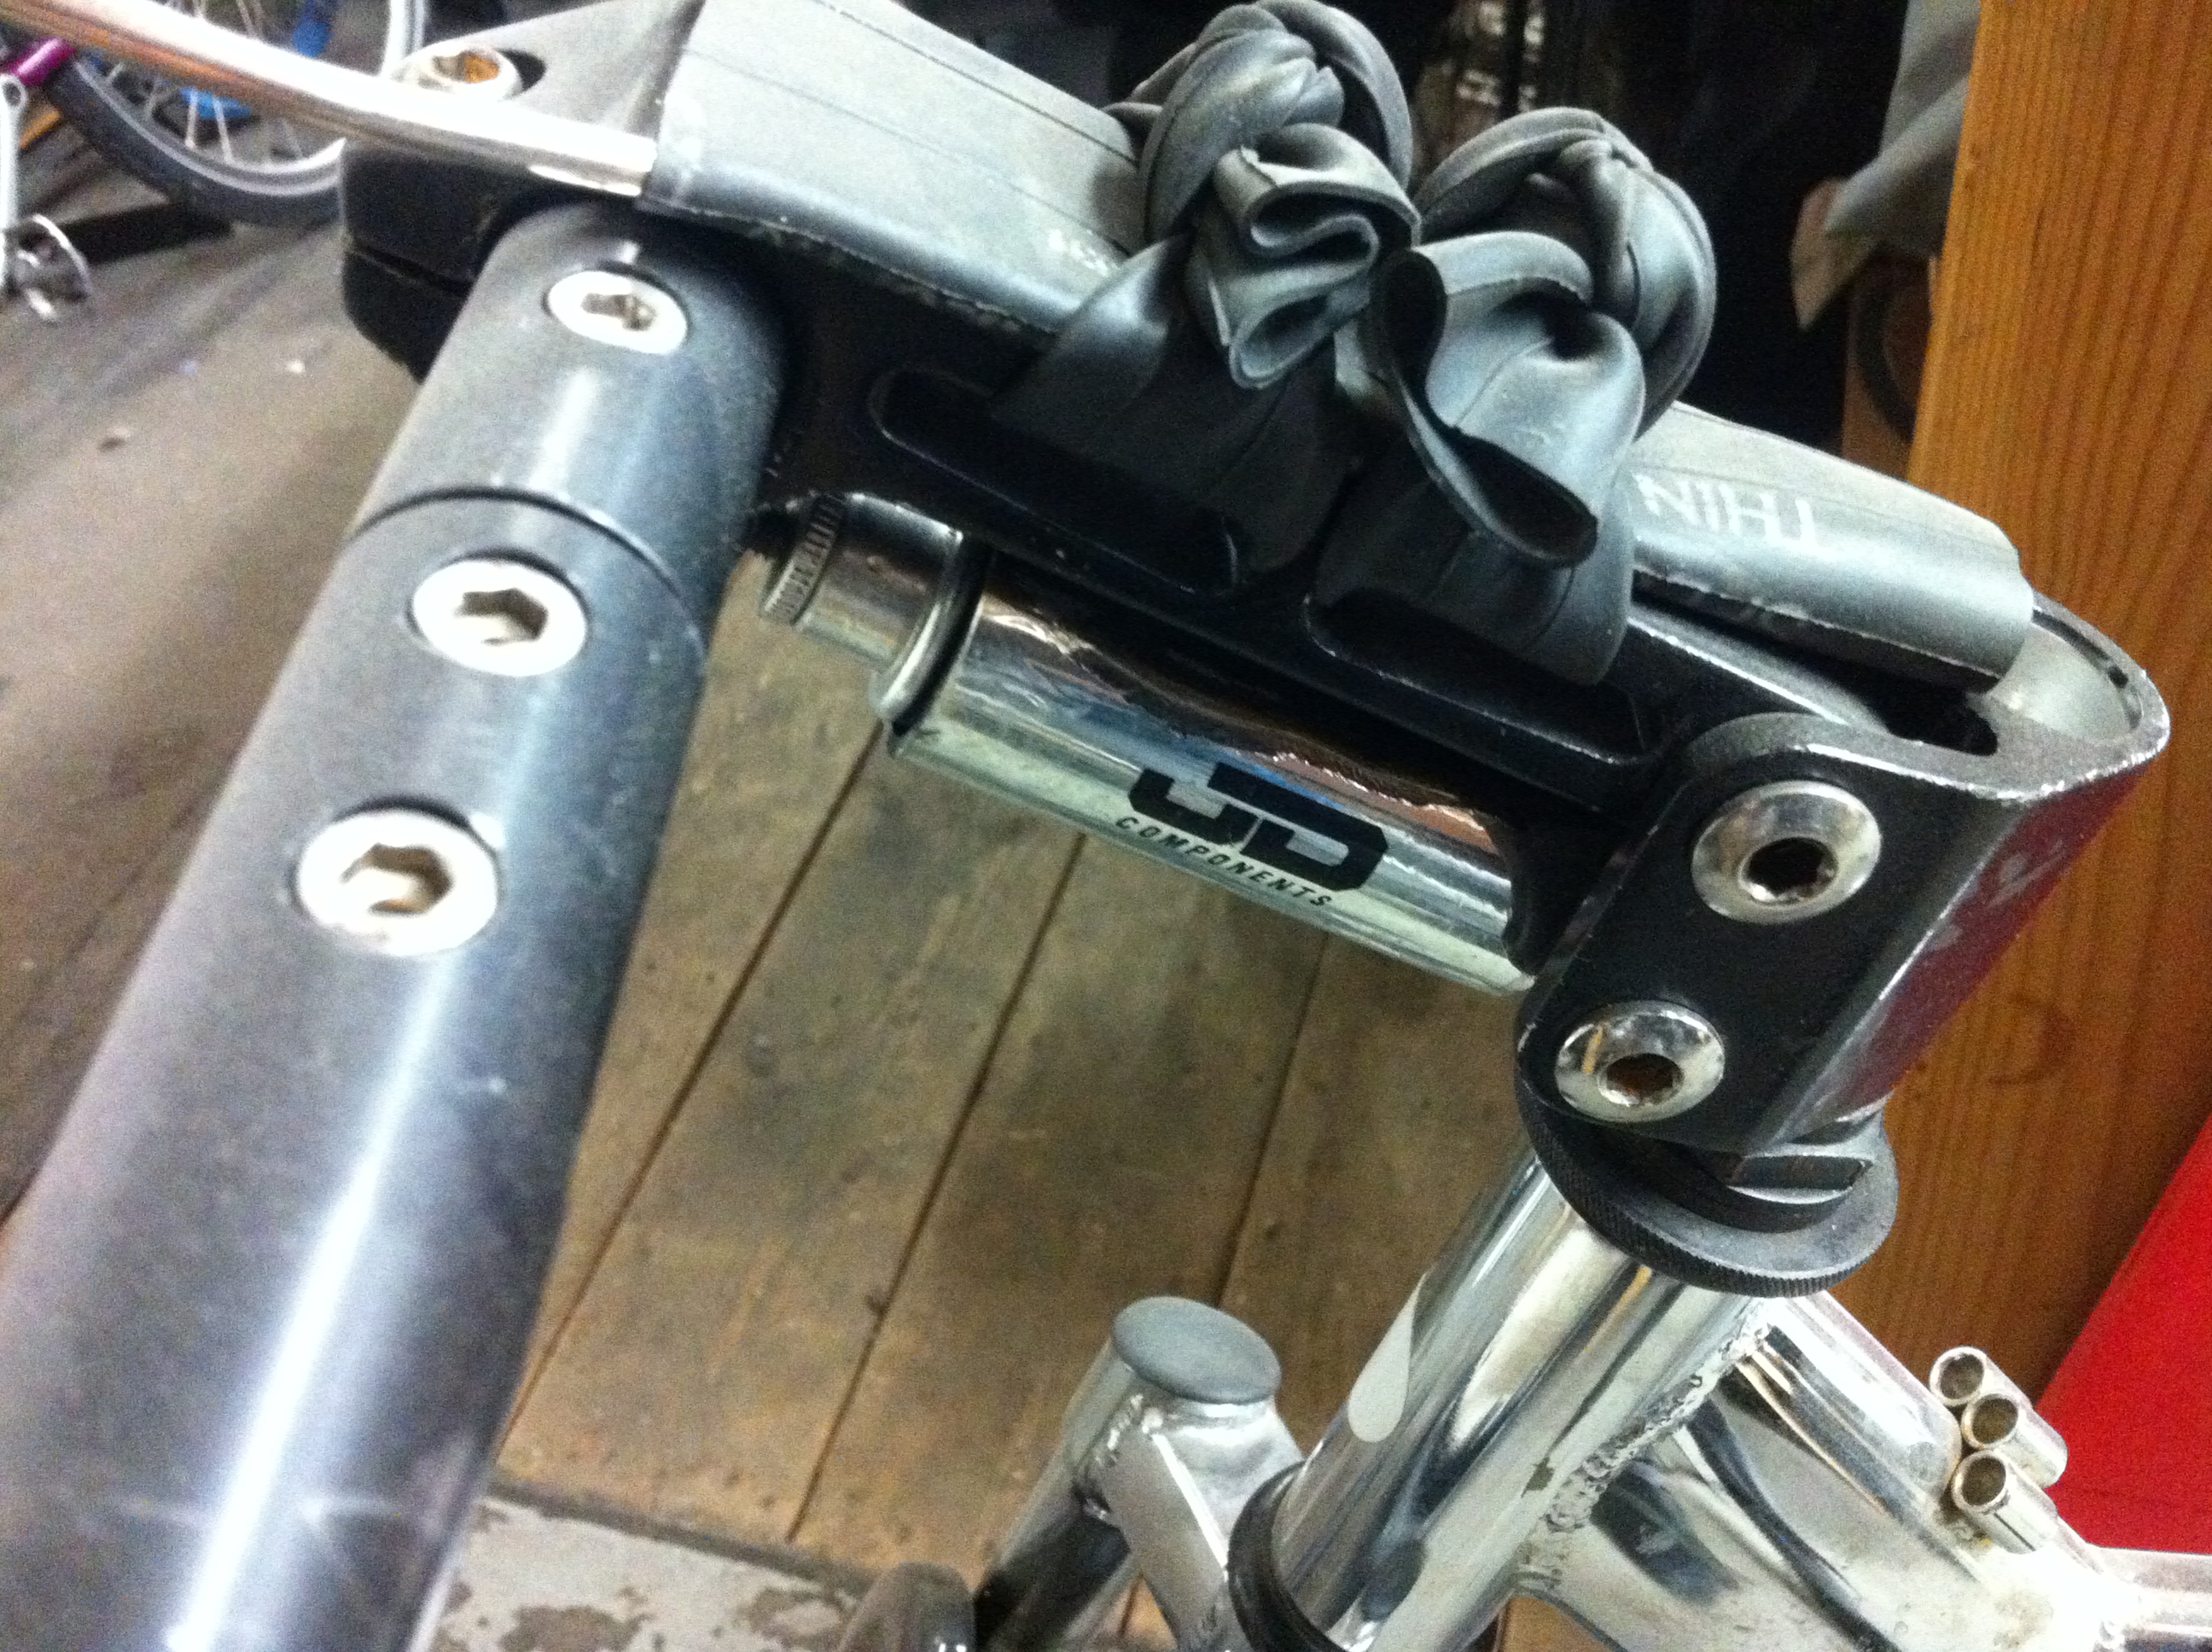
suspension_seatpost

a suspension stem:

suspension_stem

and even suspension handlebars. That’s a vibraslap being used as the bell:

vibraslap

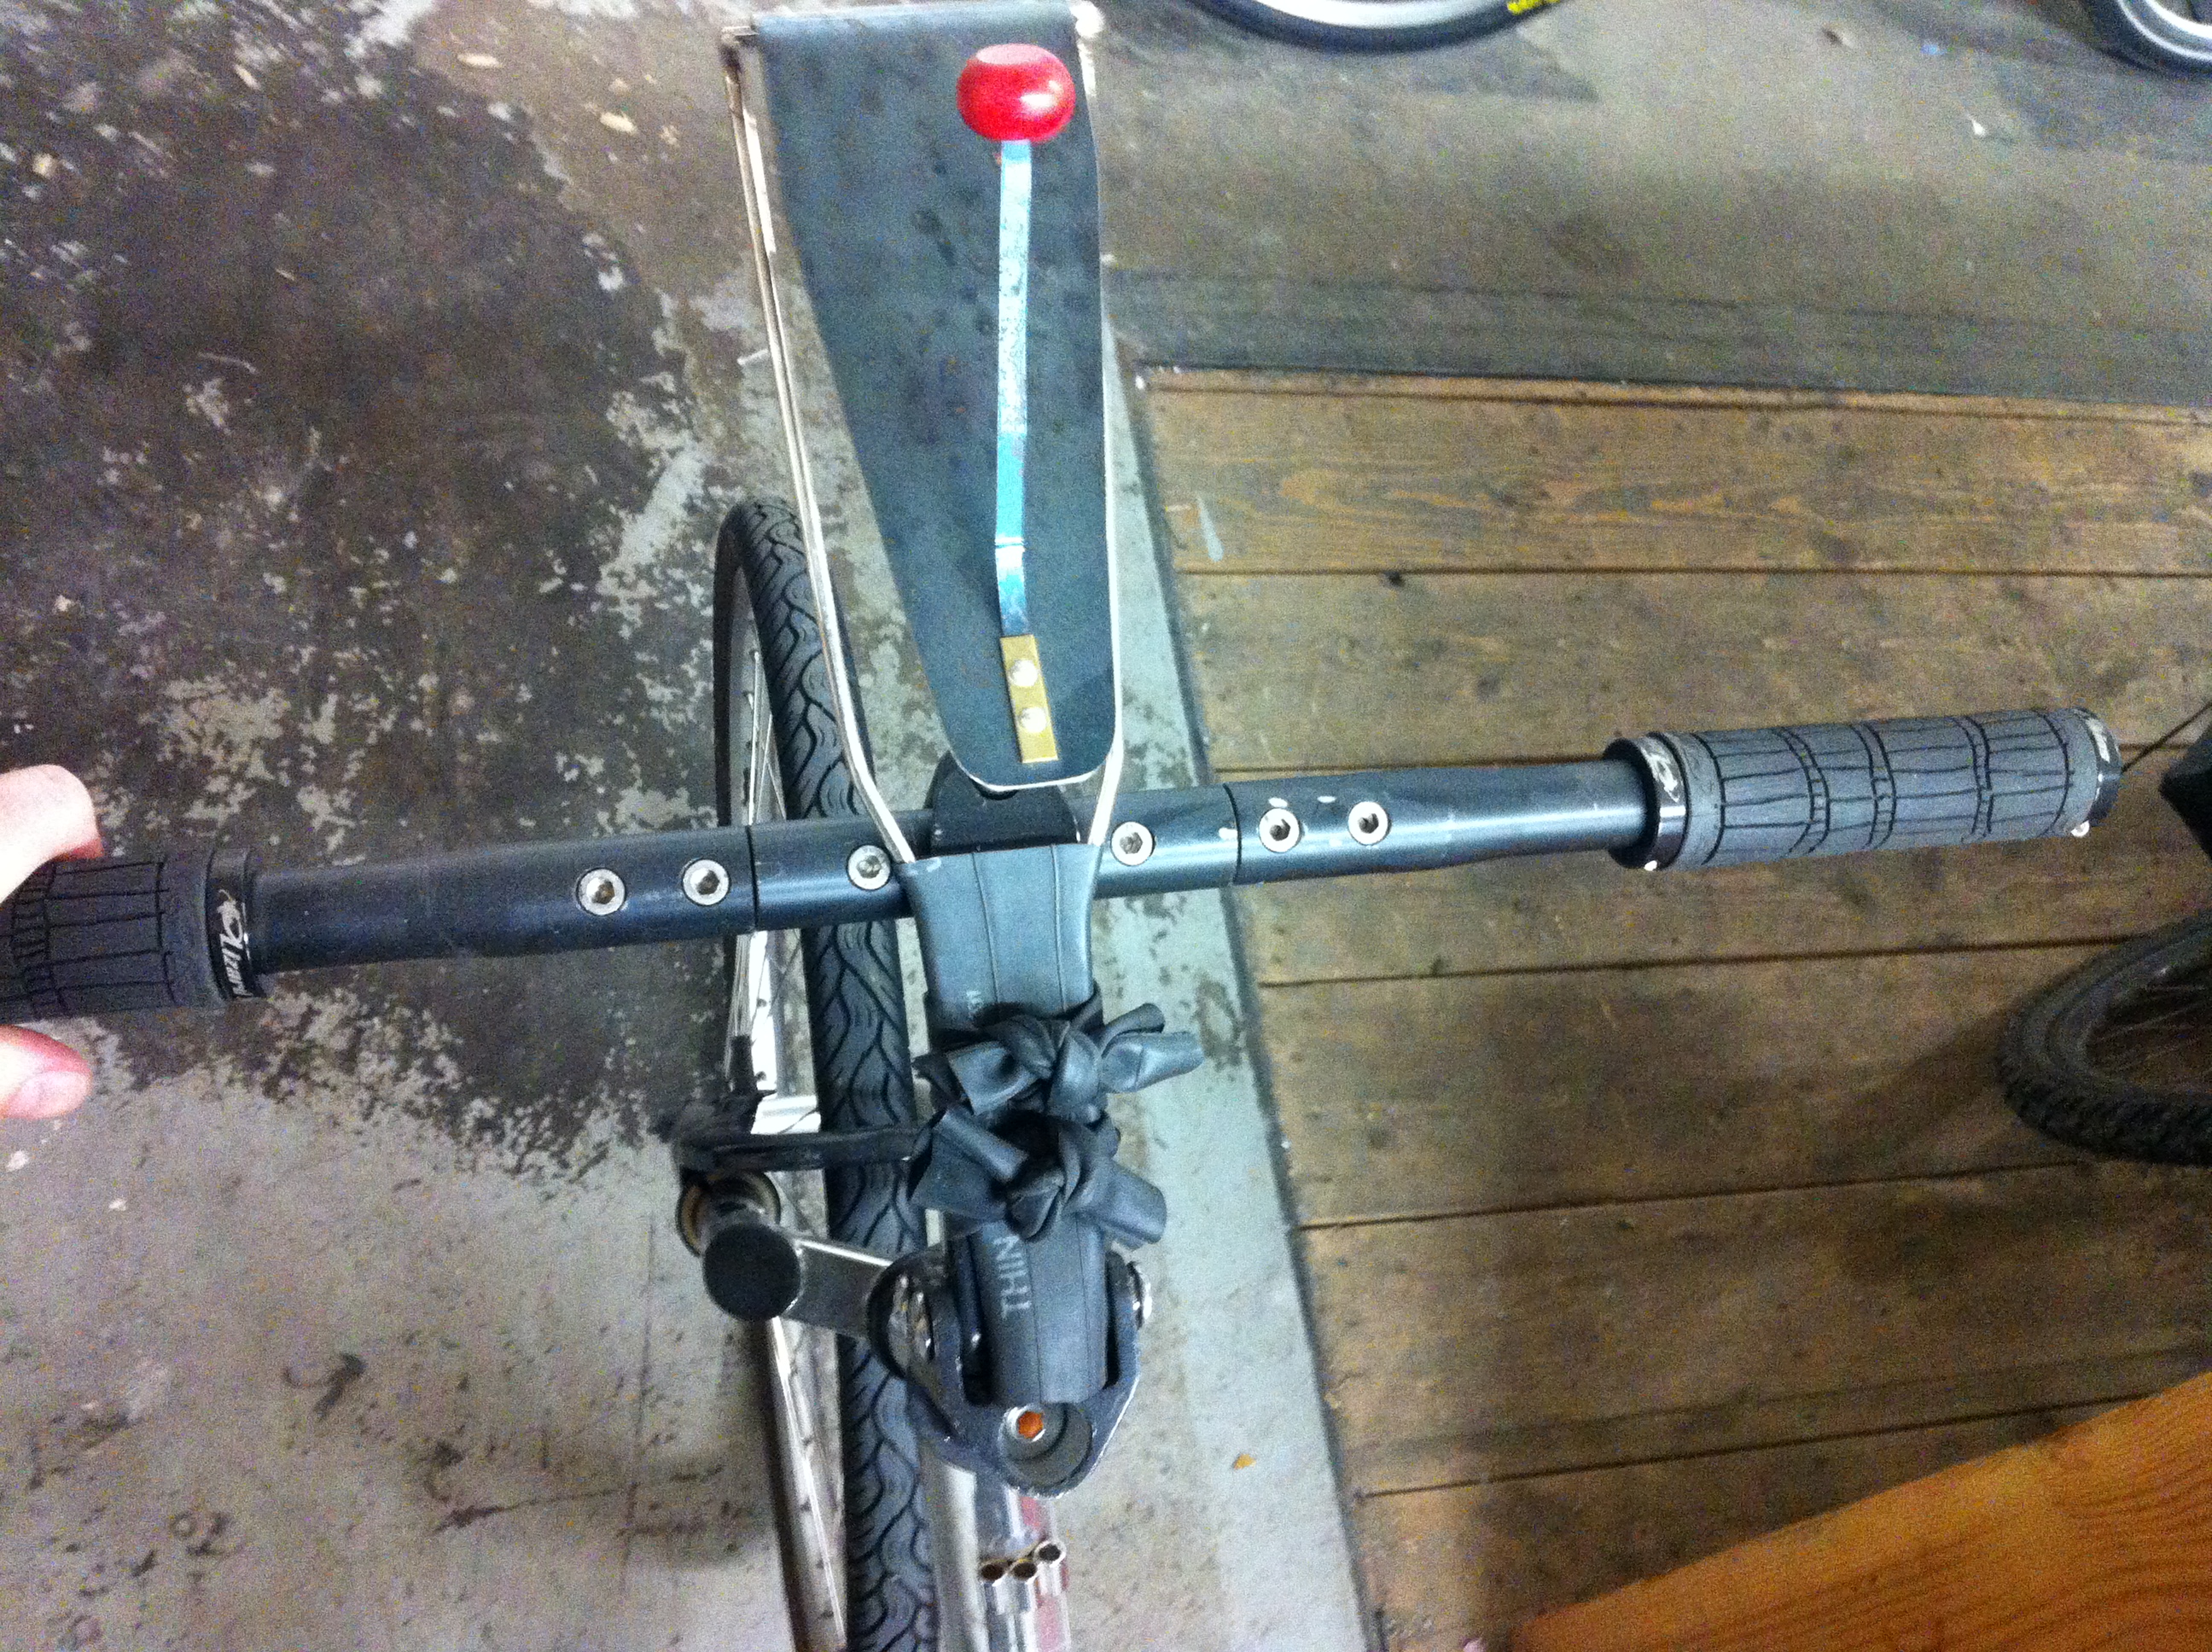
The result is a very floppy and suspended ride, which helps a lot because:

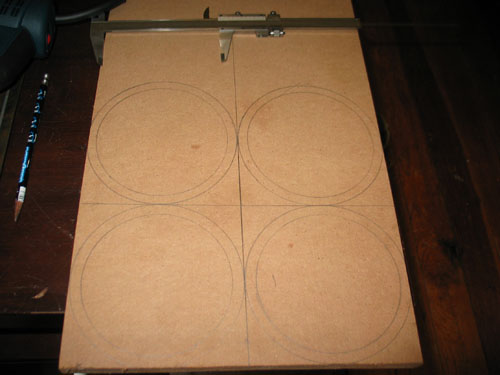
The hubs are not in the center of the wheels! They are offset by one centimeter. The reason why isn’t the point — the point is — how?

Loads of thanks to Gideon Weisz for the innovation that made this possible. Gideon is a jeweler and, among other things, makes rings. He was creating ring modeling software when I mentioned my off-center wheel project, and Gideon offered to modify his ring modeling software for spoke calculations. When building wheels, it’s important to know how long the spokes should be — too short, and they won’t reach the rim; too long and they’ll poke into and puncture the inner tube. However, all other spoke calculators assume that the hub will be in the center of the wheel. Gideon’s spoke calculator can apply an offset to the hub and calculate individual spoke lengths! Wicked cool.

With the spoke lengths in hand, I collected 72 spokes of varying lengths over the course of a few weeks. Not all spoke lengths are readily available, so this involved scrounging some from parts bins, extending the threads and trimming spokes when I found close matches, and hunting for others from local bike shops. I also had a few spokes custom cut at Paramount Bicycle; thanks Tyler.

Then I built the wheels, lacing them with a standard three-cross pattern. They came together surprisingly quickly and the spoke lengths worked out perfectly.

Riding this bicycle is like riding on a slowly undulating, rippling surface. It is pretty comfortable but the constant bobbing can get disorienting after a while, and it’s a pretty rough ride when bombing down hills. I took meclizine for motion sickness the first time I rode it for a few hours but have ridden it a few times since without chemical assistance and had no problems. Huzzah!

I’ll blog about the next build in another post.

Portable radiobox prototype working!

It’s been a while since I’ve been able to get back to bicycle projects. Moving, setting up the new apartment and then beer brewing season have a way of eating up time! But this weekend, thanks to a jammin’ stitch-and-bitch session, I was able to get the portable radiobox working. It’s not complete, yet, but I’m at least able to test it out!

I had to first paint the bottom coat. I’m using marine paint, which does an excellent job making concrete void (cardboard tube) water-resistant:

It does off-gas quite a bit as it dries, however. I ended up moving it into the garage to let it dry; it took about a week for the first coat to dry out. I sanded that, applied another layer, let that dry for several days and then painted a topcoat. I applied two layers of topcoat, let that dry and then the shell was complete:

Now I could get into the guts of wiring it all up! The wiring diagram is classified but here’s some electronics nerd porn:

I tried to limit the number of holes in the case and cut them carefully. Here’s the hole where the on/off switch mounts, and the battery charging port in place:

The battery fit perfectly and I found an angle bracket that worked to hold it in place:

A few hours of swearing, jamming things inside and cutting parts off the internal frame, and I had the finished prototype!

And here it is, mounted on the bike rack on my winter commuter:

There’s still some work to do. I’ve got to attach external RCA audio jacks instead of using a wire that runs out of it, otherwise I have to keep attaching and removing the audio cable from the bicycle frame every time I take the radio off the rack. The internal wiring needs some cleanup while I’m in there. I need to touch up some of the scratches I made when assembling it, make some minor adjustments to the internal frame which is a few millimeters too long, and add a power LED. While the parts are on order, though, I’m still going to enjoy using it!

Two Projects

I have two bicycle-related projects running simultaneously right now. The first one is a small rack-mountable radiobox, shamelessly lifted from the BikeBoomBox, which was in turn shamelessly lifted from MOSFETgrrl’s bike stereo. My goals with this radiobox are to make it easily reproducible, cheap and effective.

The basic idea is to use 6″ sonotube as a shell, build an internal frame out of MDF and pine for strength, jam a large SLA battery and an inexpensive super-efficient class T amp inside, and put marine speakers on either end. The total outlay *should* be less than $100, it should be weather-resistant, mount on a standard bike rack, accept mp3po input and be rechargeable. It can also be disassembled if necessary.

Here’s some MDF marked up with the speaker dimensions:

And in the process of being cut with a jigsaw:

MDF produces lots of nasty dust. It’s not really sawdust — it’s much finer, and is really not a good thing to breath. I tied a wet rag over my face to keep the dust out.

After an hour or so of cutting up wood, all the parts were ready for assembly:

The speakers attach at one end. A solid piece of MDF seperates the speaker area from the battery compartment:

Here’s an end shot with foam padding attached where one of the speakers will sit:

And here is the 7.5 Ah SLA battery fitted inside:

Next I need to install the class T amplifier, which just arrived from parts-express this week. Thanks to Pywaket for introducing me to this neat device.


I’ve also been working on a swingbike. Designing a strong center joint that can be disassembled for servicing has been challenging, but with Skunk’s high quality welds in place I think this iteration is going to work out:

The top piece will get bolted in with a thick hardened steel bolt. Here’s a top-down view of the joint, showing the bolt hole:

And a side view of the two connected frames. I’m going to use different handlebars ultimately:

It still needs a lot of work: painting, rear wheel, new cranks and chainring… but the hard part is finished!

Next Page »