Archive for March, 2010

Slow and steady wins the race

I apologize in advance for the marginal quality of these photos. My digital camera’s still on loan, so the images from the Helmet Cam are all that I’ve got for now.

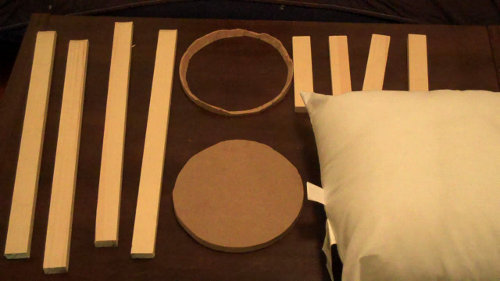
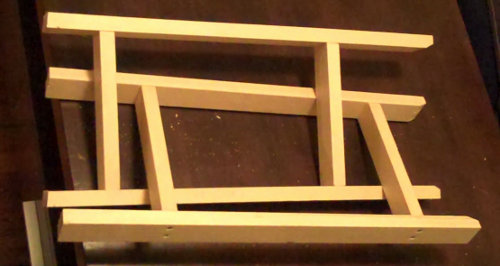
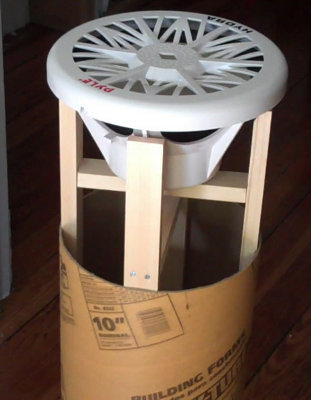
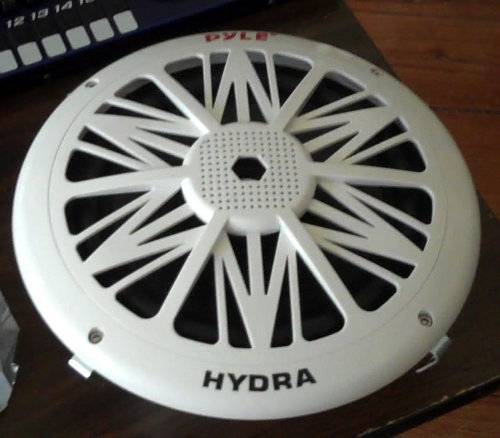
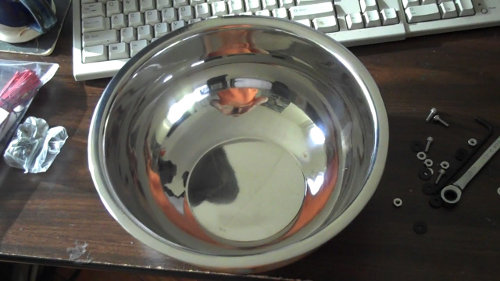
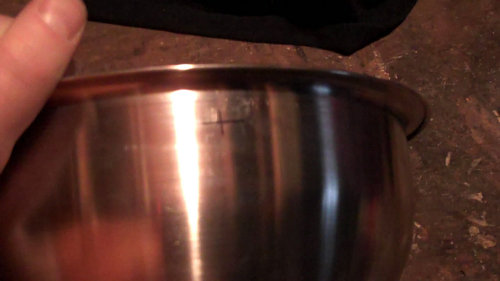
I was able to seal and undercoat the assembled subwoofer a few weeks ago. The weather hasn’t been cooperating lately, so it’s been slow going; the marine paint used to waterproof the subwoofer doesn’t dry well when the humidity’s above 50%. Looks like the rain is clearing up, though, so I should be able to start the finishing coats of paint today:

I also primed and painted the rear rack assembly:

Here it is, painted, fully assembled and installed:

I also realized that when the subwoofer’s installed, water and dirt would get kicked up directly onto the speaker without a fender. I had an old ABS plastic fender that I wasn’t using; cutting that up and creatively reusing a pipe hanger solved that problem:

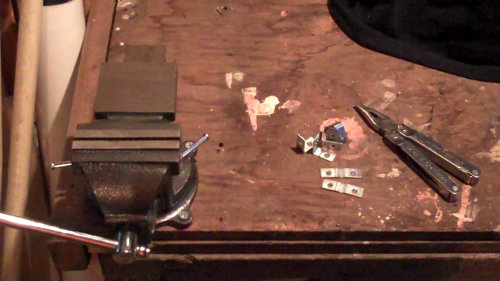
I still need to mount the battery. I’m in the process of putting a metal cage for it together:

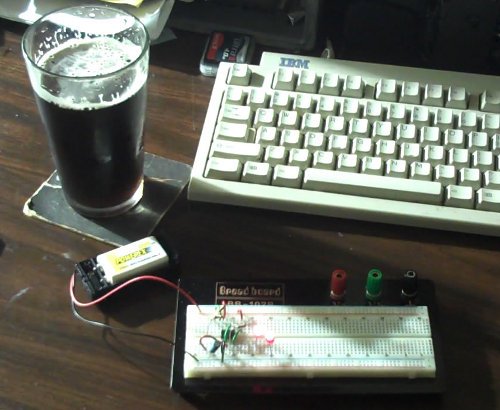
My ship will be flightworthy by AlphaMission, although the radiobox won’t be on it by then. I should be able to attach a few temporary LEDs ahead of time, though.


Otherwise, I took advantage of the amazing weather we had a few weekends ago to clean out my self-watering container garden and rebuild the potting mix. I like being able to have a few unusual fresh vegetables during the growing season; this system produces reasonably high yields for a small amount of space. The trick is the potting mix, which is 40% peat moss, 40% compost, 10% perlite or vermiculite, and 2c lime per 2 ft^3:

The containers themselves are made from two nested 6 gallon plastic buckets. The top bucket has a hole cut in the bottom, and a 20oz plastic cup sits in the hole. A vertical slit is cut in the plastic cup. When the top bucket is filled with potting mix, the potting mix in the cup will wick moisture up from the space between the buckets, which serves as a water reservoir. Here’s an internal view:

Here’s what the full buckets look like. The plastic tube sticking out of the dirt extends into the water reservoir; it’s a fill tube. I’ll put lids on them, too, with holes that are just large enough for the plants, so that rain doesn’t saturate the potting mix:

There are small holes near the top of the water reservoir that prevent the buckets from overfilling. I’ve used t-connectors, hose clamps, irrigation tubing and a garden hose to set up a rudimentary irrigation system:

This way, when the buckets need water, all I have to do it turn the outside faucet on and wait for the reservoirs to fill up. Easy! Even this step could be automated using a water timer or an Arduino with a moisture sensor.

Subwoofer enclosure porn

You’ll have to excuse the quality of these photos. My brother’s borrowing my digital camera to hawk some wares on Craig’s List, so I’m using my Flip helmet cam, which is great for video but doesn’t do as well with stills.

I spent a day last weekend down on the family farm. Some time in the basement wood shop resulted in a small collection of fitted framework:

Why, yes, that is a pillow. I’ll take the polyfill stuffing out eventually and put it inside the enclosure. Doing this effectively increases the apparent size of the enclosure without making the actual size larger.

Why? Well, the polyfill moves around when sound waves strike it. The polyfill fibers move around so much that they heat up, and then heat the air around them. Sound travels more slowly in hot air, because hot air is less dense than cold air (maybe this is one reason winter cycling always seems to take more effort). The polyfill, when glued to the inner wall of the enclosure, will also have a dampening effect on the enclosure’s vibration. These changes make the apparent size of the enclosure seem larger. I call this the TARDIS Effect.

The other parts are pine braces and MDF (fiberboard), which is used to cap one end and also to make a ring that helps fit the subwoofer to the other end. The MDF ‘ring’ saw enough jigsaw action to get pretty badly mangled. It’s not structural, though, it will just help position the subwoofer properly as the entire unit is assembled. The subwoofer will ultimately stay in place with long wood screws that screw directly into the pine braces. In fact, I may end up completely eliminating the MDF ring since it’s really not necessary.

I assembled a simple frame to reinforce the enclosure. This also provides strong internal braces that I can use to support the bolts that will hold subwoofer to the front fork:

Finally, here is a partially exploded view, so that you can see how it all fits into the Sonotube (round concrete form) enclosure:

There’s space between the bottom of the speaker and the top brace; it just doesn’t show well in this photo. I may need to reposition it if the MDF ‘ring’ idea gets tossed… we’ll see.

Kickin’ out the jams

Now that this ship is (mostly) done, I’m building out the radiobox. I’ve got some reasonable marine speakers (rain and salt resistant); the challenge is to first protect the backs of the speakers by putting them into an enclosure and second to mount them to the ship.

I bombed on down to Goodwill in Davis Square last week to scope out the pot and pan selection trying to find something suitable. That place smells funny. Unfortunately, there wasn’t any cookware that was the proper size, and the few single pots that would have fit the speakers were made of false metal (aluminum), which can’t be easily welded to steel. I ended up stopping at Target the next day and finding some cheap bowls that were the right diameter, and — bonus — they’re made of stainless steel! Weldable AND rust-resistant:

The bowls aren’t a perfect fit, but they are so close that the difference can be made up by using corner brackets:

The corner brackets were re-bent with the help of the vise so they’ll fit snugly in the bowl:

In order to finish installing the speakers into the bowls, though, I’ll need to drill holes in the bowls. I tried this, but stainless steel is very difficult to drill without a press. So that will have to wait until I have access to a drill press later this week; in the meantime I’ve marked where holes need to be made:

Over the weekend I also breadboarded out an LED blinky circuit. My rear blinky on my civvie ship has been malfunctioning and it has a broken mount. Now I can make another blinky!