Seatpost Redux
I’m still working on improving the seatpost from the new SCUL ship I’ve been building out. The original seatpost, which didn’t come with the frame, was a 5/8″ OD ‘Lucky Seven’ style seatpost. Modern seats are designed for 7/8″ seatposts.
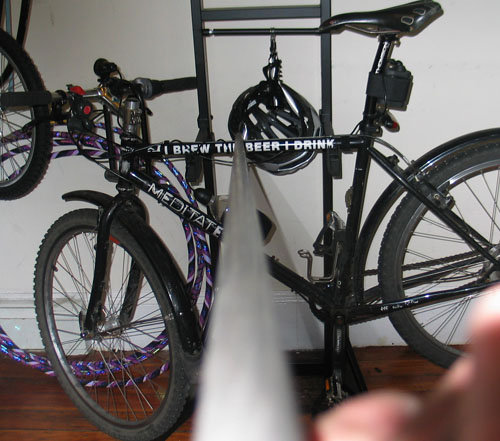
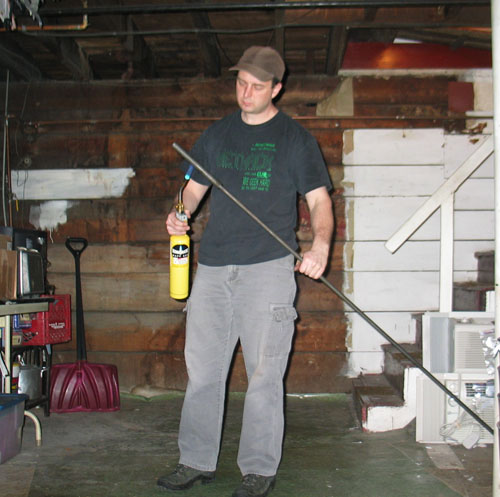
When a bicycle is chopped, the front of the frame is angled upwards. As a result, the seatpost, which normally is roughly vertical, extends more diagonally from the frame. The seatpost has to be stiffer and stronger to withstand the additional lateral force of the rider.
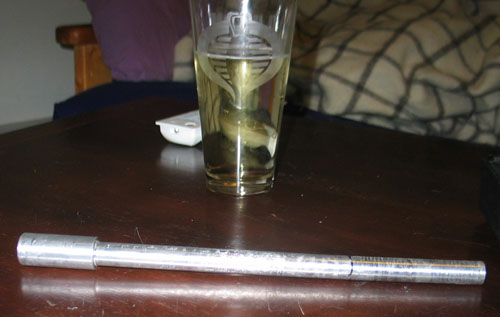
My first solution was to have a solid 5/8″ rod machined out of aircraft aluminum with a 7/8″ shoulder on it to accomodate the larger seat. Yes, that is the Cobra Command logo on my glass, and yes it I do feel awesome when I drink from it thank you:
It turned out that the 5/8″ aluminum seatpost bent noticeably when I sat on the seat. I don’t think that the aircraft aluminum would have snapped, but the bend was significant enough that I worried about its ability to hold up over time, especially if a heavier individual rode the bicycle.
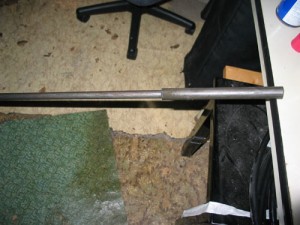
The stronger seatpost is built from from 4130 steel aircraft tubing. This tubing comes in really long lengths if it’s bought in bulk:
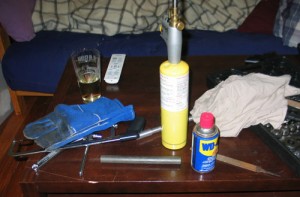
The idea is to use steel aircraft tubing to replace the machined aluminum part. A solid 5/8″ steel rod with a 7/8″ tube fitted over it should work. I poured myself a glass of homemade hard cider and put a few tools together — by the way, welding gloves are EXCELLENT potholders, I don’t bother with any other kind anymore — and got to work:
The first step was to figure out how long the new seatpost needed to be. I set the bike seat to the appropriate height for me and measured the distance between the top of the seat tube and the top of the frame to get the height of the 7/8″ tube.
Then, I cut the tube to size with a hacksaw. If you haven’t hacksawed tubing before, I recommend doing it at least once to put the awesome power of an angle grinder in perspective. I also recommend pushing a car down the street to understand the strength of a combustion engine, dressing down to go to fancy restaurants but tipping heavily as a form of subtle social commentary, and turning your monitor away from the window if you work at Amgen because I can see it from my office and I’m asking for a desk telescope for my birthday.
After the tube was cut to size, I hammered it over the 5/8″ rod:
The inner diameter of the 7/8″ tube is 5/8″. This leaves exactly no room between the tube and the rod. Aircraft tubing is not exactly round; there’s enough variance to cause resistance after fitting the first inch or two of tube over the rod. I had to sleeve about 8″ of tube over the rod, so I had to use a few different techniques to finish the job. Lubricating the rod with WD-40 helped, as did heating the tube with a propane torch:
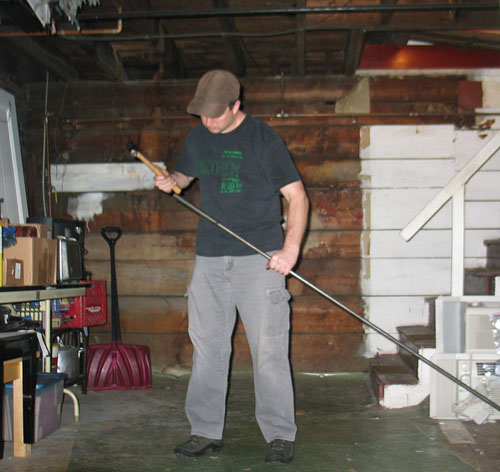
I ended up switching to a big 3 pound sledge hammer, repeatedly heating the tube, and hitting the tube a few hundred times to get it sleeved completely over the 5/8″ rod. There is no way this tube is coming out of the rod now. Here it is partially sleeved:
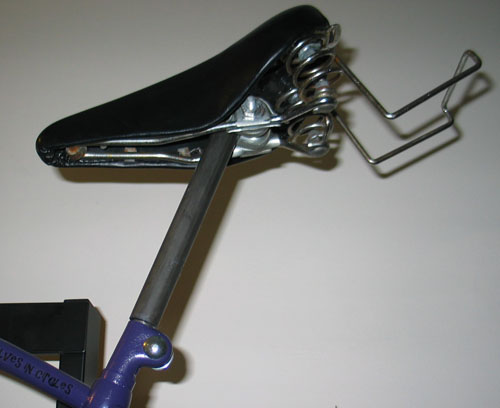
After the tube was completely sleeved over the rod, I cut the bottom of the rod and left about 16″ of 5/8″ rod extending past the 7/8″ sleeve. This rod will sit inside the seat tube of the bicycle frame. The thought is that if the frame’s seat tube fails where the seatpost fits, enough seatpost will sit in the frame to keep the seat from completely falling off, reducing the risk of injury after the failure. The re-engineered seatpost fit in place perfectly, and it’s much, much stronger:
I am going to strengthen it even more by adding another tube as a brace. The brace will extend from the top part of the seat post to the fender mounts near the rear dropouts.

